How to Install and Get Started with Siemens TIA Portal and S7-PLCSIM

Introduction
Siemens is one of the major players when it comes to PLC programming, and it is regarded very highly in the industry. With Siemens TIA Portal, programmers are able to use the latest software to intuitively code small projects to large projects with everything else in between.
In this tutorial, we are going to look at how to get started on a project using TIA Portal, from setting up which PLC we’re going to use, to adding some functionality to a program.
Firstly, it is important to note that you need a valid license to begin programming with SiemensTIA Portal, and they don’t come cheap. Usually, they will be purchased for a particular project and the license used accordingly. With Siemens, the license itself comes on a USB license stick.
Choosing a Siemens Automation Licence
Start by opening the Siemens Automation Licence Manager to transfer the license from the license stick to your programming machine. The one highlighted is the one we need for the version of TIA Portal we’re using; V14 SP1.

Setting up the TIA Portal
Ok, so let’s start and make a new project. Open up TIA Portal;
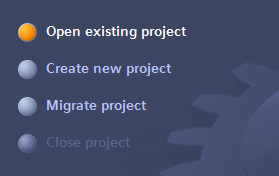
Once it’s open, click “Create new project”;
Give it a name, then click “Create”.

You should see something similar to the following screen;
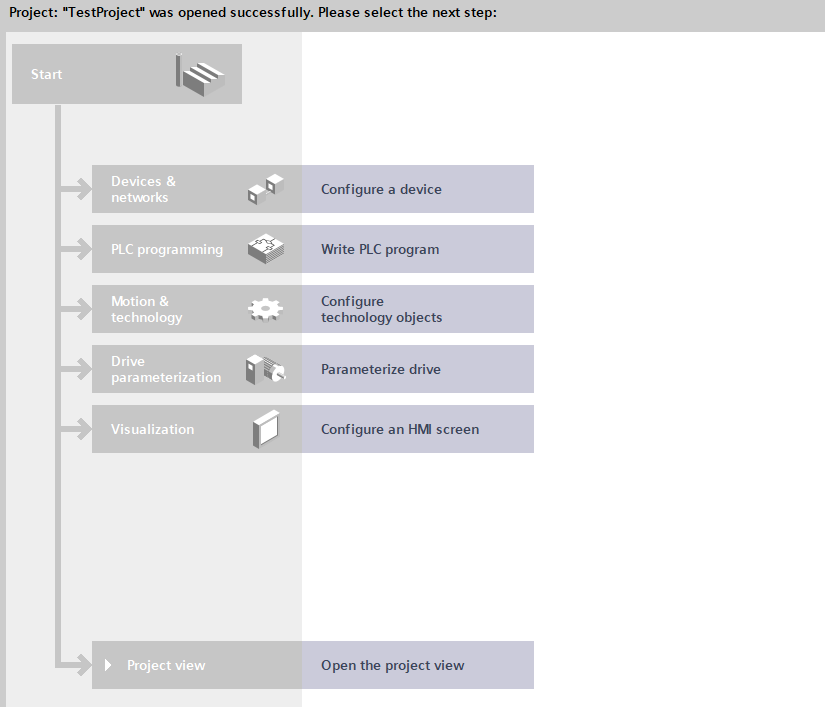
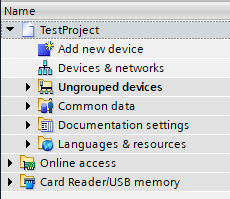
Click “Open the project view” to begin, and then “Add new device” to add a PLC to the project.
When selecting a PLC there are a few important things to consider. Firstly how do we intend to connect to the PLC? An ethernet cable is fast becoming the most popular way to connect because of its speed and versatility.
The prefix for Siemens PLC with ethernet, referred to as ProfiNET, is “PN”. If a PLC identifier is CPU 1511-1 PN, this means it is a CPU in the 1500 series, and it has 1 ethernet port, signified by the 1 PN.
The “11” in the CPU 1511 denotes how much memory the device has, for instance, the CPU 1511 has 150 KB of working memory for programs and 1 MB for data, a CPU 1513 is the same CPU series, but it has 300 KB of working memory for programs and 1.5 MB for data.
If a PLC identifier is CPU 317-2 PN/DP, this means it is a CPU in the 300 series, with 2 ethernet ports and 1 MPI or DP connection. In this case, the “17” in CPU 317 indicates the CPU has 1 MB of work memory.
A DP connection can be used for Profibus devices to communicate over the PLC network in the same way as ProfiNET. The Profibus technology is older and communication is slower than ProfiNET, but it still remains prevalent in automation today.
Now for the purposes of this tutorial, it doesn’t much matter which PLC we use, but we’re going to select a CPU 1511-1 PN as shown in the screengrab below.

When we click on “OK”, it adds the PLC to our project and opens up the device view so we can add other devices to the architecture, for example, remote I/O or field devices.

Now that we have selected our CPU, we want to add some code. This is done in the program blocks section as shown in the screengrab below.
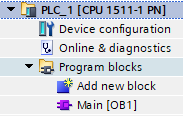
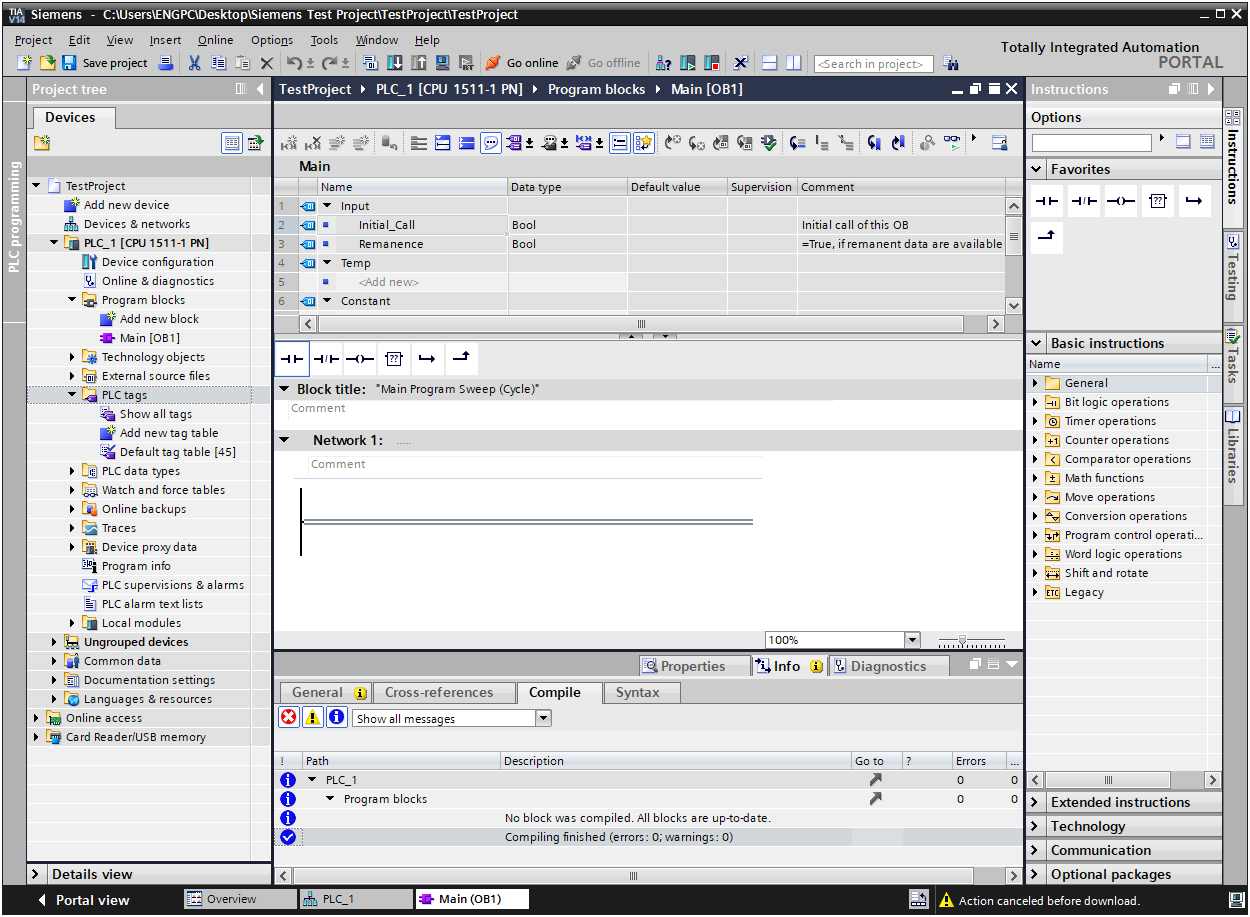
If we open our Main [OB1] block, we can see the user interface and where we can begin writing our code. You should see a similar screen to the one below;
Siemens PLC Program Blocks
There are several different types of blocks that can be used in a Siemens PLC. As you can see, there is already “Main [OB1]” there for us. OB1 is an organizational block, but there are other organizational blocks that perform different functions when used in a PLC.
Organization blocks (OBs) represent the interface between the operating system and the user program. Called by the operating system, they control cyclic and interrupt-driven program execution, startup behavior of the PLC, and error handling. You can program the organization blocks to determine CPU behavior. Organization blocks determine the sequence (start events) by which individual program sections are executed. An OB call can interrupt the execution of another OB. Which OB is allowed to interrupt another OB depends on its priority. Higher priority OBs can interrupt lower priority OBs. The background OB has the lowest priority. Start events triggering an OB call are known as interrupts.
Next up we have Function Blocks and Function Calls. They are both very similar to each other in that you can create your custom program code in them, but the main difference is that a Function Block, or FB, is used for program routines that have internal memory whereas a Function Call, or FC, is used for program routines that have temporary memory.
Function Blocks store their internal memory in an Instance Data Block. This means it can be accessed elsewhere in other routines in the PLC by using its data block address and it won’t lose its memory. A Function Call will lose its memory every cycle of the PLC. For multiple instances or repetitive functions, Function Blocks should be used so that the memory is stored.
Data Blocks, as we’ve learned already, are an area where we can store data. We can use this stored data throughout our programs, but they are just essentially lists. We can define different data types in the data blocks and map data into them. The difference between the two types of data blocks, instance, and global are that in the case of a global data blocks, FB’s, FC’s and OB’s can read and write the data contained in the data block. The instance DB is assigned to a specific function block, as we’ve learned already, and contains local data for that assigned FB. This is demonstrated in the image below.

Now that we have an idea of what the different types of blocks do, we can not go ahead and start to code our program.
Running a S7-PLCSIM Simulation
Once we have our program ready to go, the next step is to download it to a PLC or simulate it. In the absence of an actual PLC, Siemens provides a program that can simulate the PLC and be able to test your program. S7-PLCSIM is the software required here, and for our test project, S7-PLCSIM version 14.
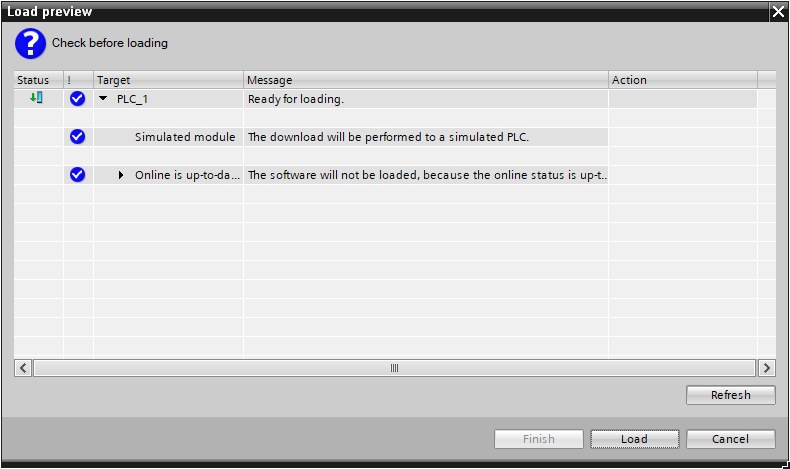
Before loading the simulation, you will see this window. Click “Load” to begin the process.
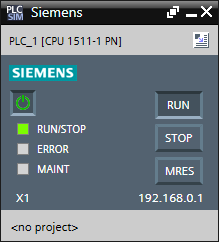
This is the S7-PLCSIM window where you can place the simulated PLC into “Run” or “Stop” mode, or reset the PLC memory using “MRES”.
Conclusion
So now you have all the tools required to begin programming Siemens PLC’s. There are so many things that can be done in these powerful controllers. We’ve covered the different types of blocks that can be used, how to create a project, and how to download or simulate the code. Now it’s over to you. What will you create first?!
