FANUC ROBOGUIDE: A Comprehensive Installation and User Tutorial

Introduction
In the world of industrial automation, FANUC Corporation stands as a pioneering global manufacturer. One of their flagship tools, ROBOGUIDE, enables you to design, program, and simulate a robotic workcell on your PC. It provides a platform for learning and understanding, not just for beginners, but for seasoned experts wanting to test new solutions without disrupting the actual production line. This step-by-step tutorial will guide you through the process of downloading, installing, and setting up your first robotic workcell using the ROBOGUIDE "Trial version".
System Requirements
In order to ensure optimal ROBOGUIDE performance, make sure your system meets the following criteria before starting the installation:
- The operating system required is Windows 11, 10, 8.1, 7, (64-bit version recommended).
- The recommended processor type for this system is AMD Athlon 64 3200+, Pentium IV 2.4 GHz, or Core (TM)2 Quad or higher.
- Speed of the processor: 2.4 GHz
- A minimum of 1 GB of system memory (4 GB is recommended) is required.
- A minimum of 512 MB RAM is required.
- Amount of hard disk space free: 4 GB
To ensure a smooth visualization of the 3D workcell simulation, you must ensure your graphics drivers are up to date on your system.
Pre-Installation Measures
Ensure you have administrator privileges on your PC to prevent permission-related issues during installation. Close any unnecessary running applications to free up system resources.
Installation Procedures
A. Registration for Trial Version
1. Visit the registration page (https://www.fanucamerica.com/support/robot/myportal-registration) and fill out the application form. A work email is preferred to ensure a prompt response.
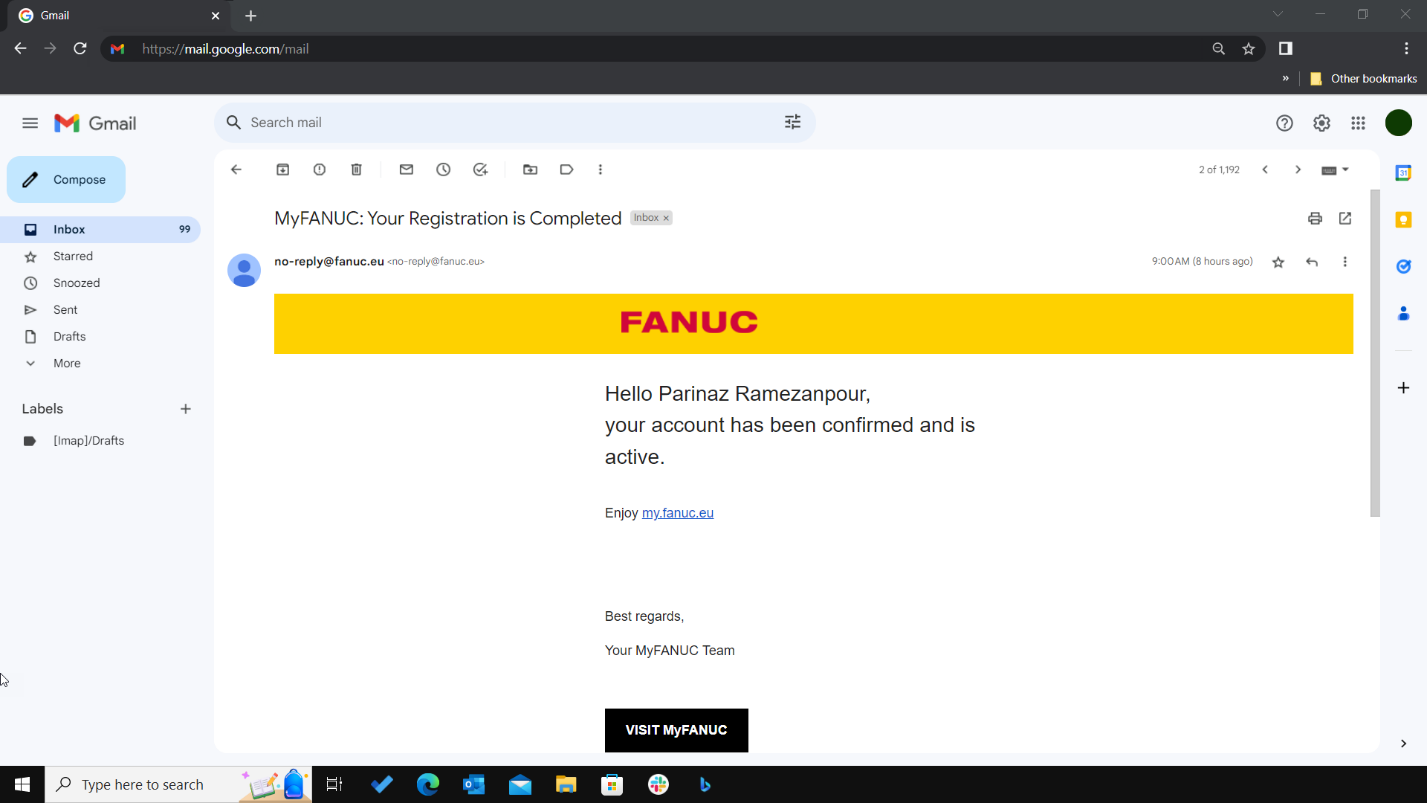
2. FANUC will confirm your registration and guide you to the software download.

Once your registration is confirmed, download the FANUC ROBOGUIDE software from the “MyFANUC” portal. You'll have unrestricted access to this for 30 days.
B. Downloading and Installing
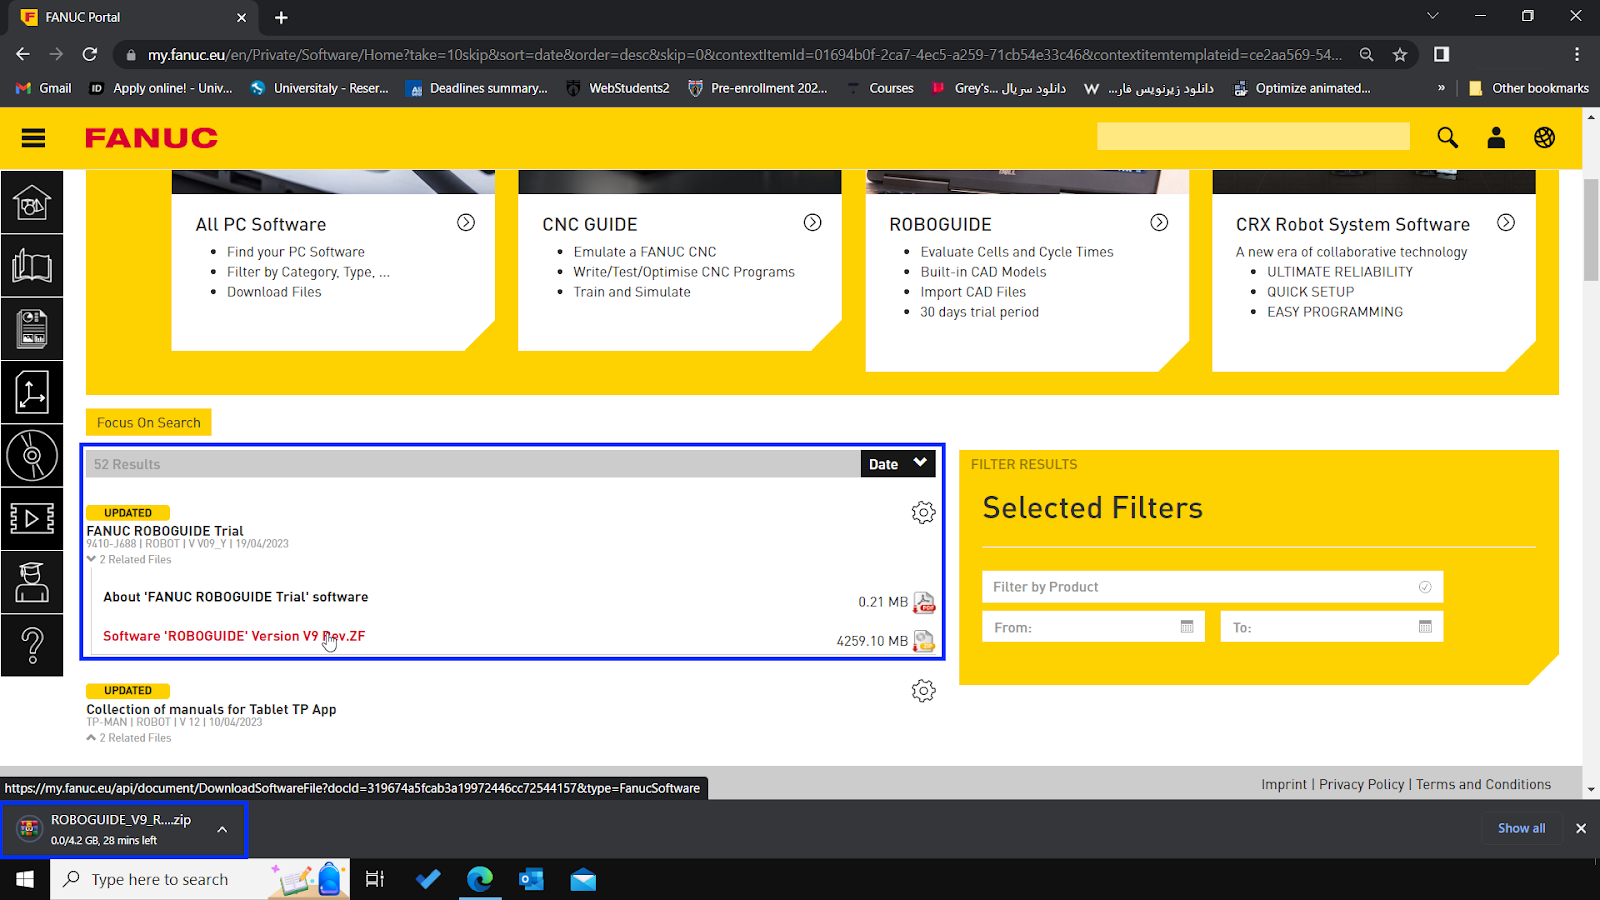
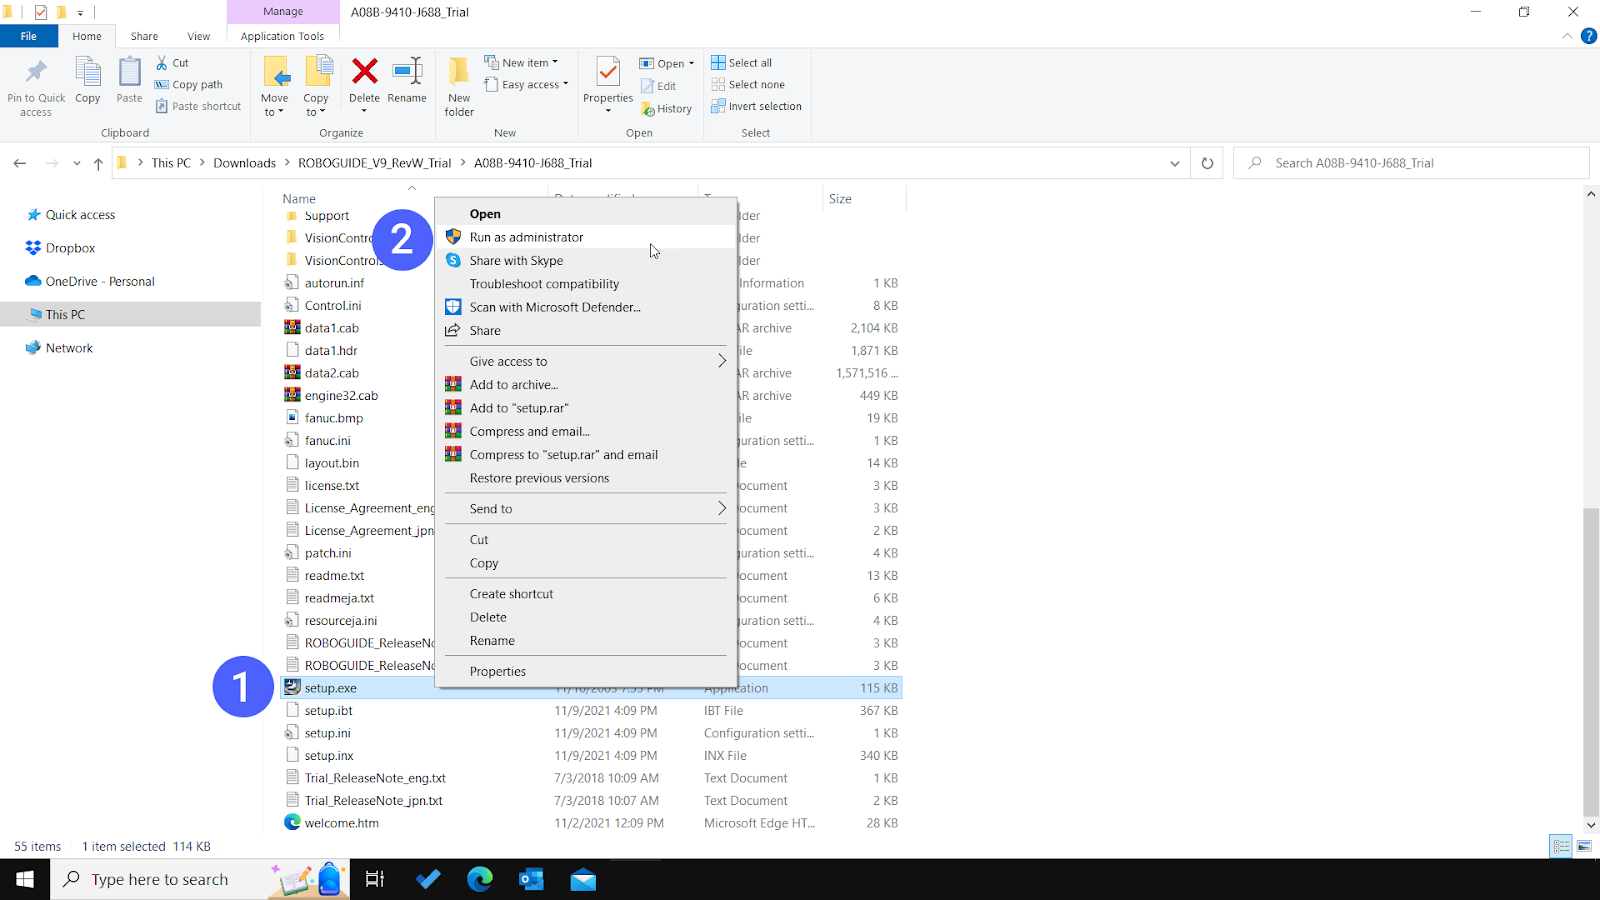
After downloading the installer files, navigate to your download location and extract the contents of “ROBOGUIDE_V9_RevZF_A08B-9410-J688.zip” using an unzipping program.
Locate the "setup.exe" application among the extracted files, right-click, and select 'run as administrator'.
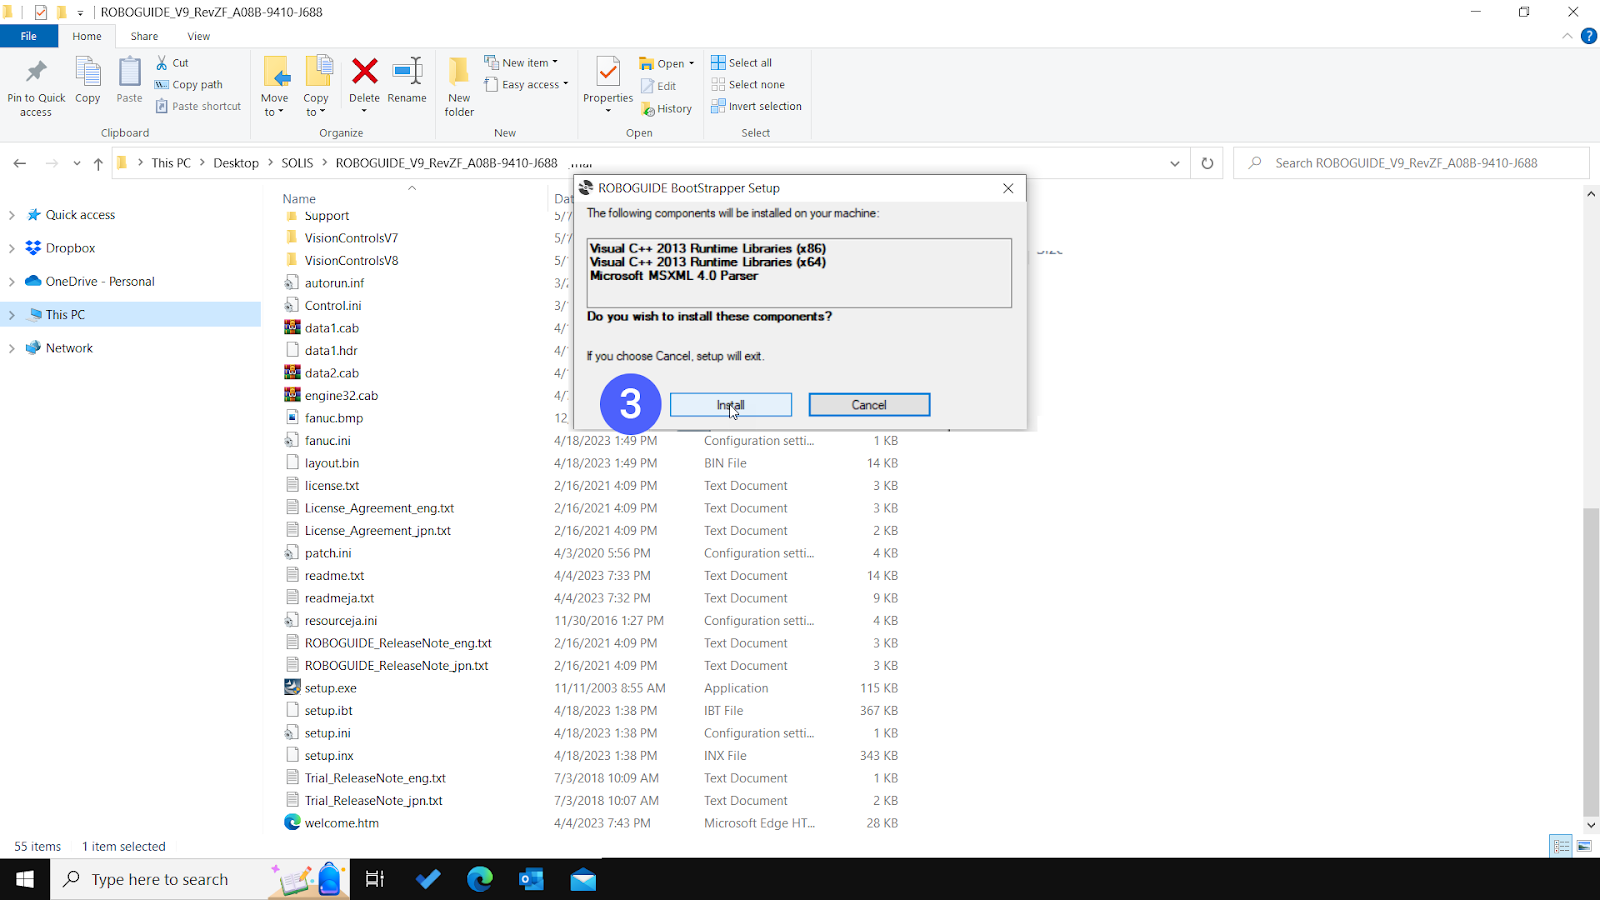
Click 'Install', then 'Next' in the ensuing windows.
Choose the appropriate options for your requirements at each step, including 'Process Plug-ins', 'Utility Plug-ins', and 'Additional Application Features'. Click 'Next' after each selection.
Note: The features that can be chosen here changes with purchased options.

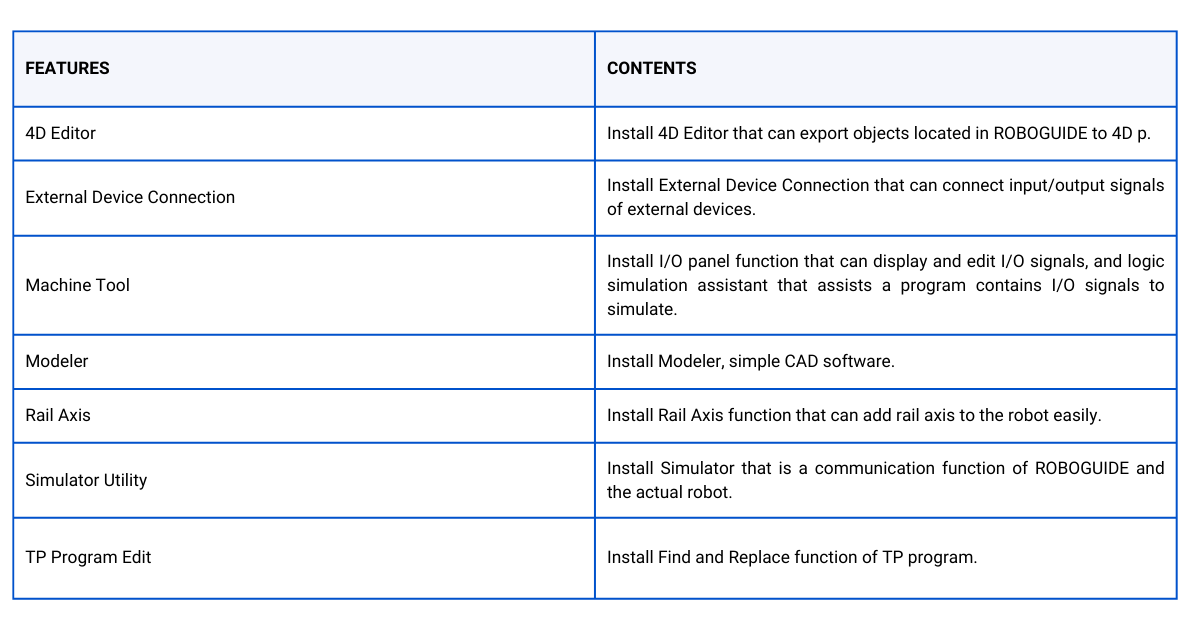
For this section you can choose these features as a desiered features.

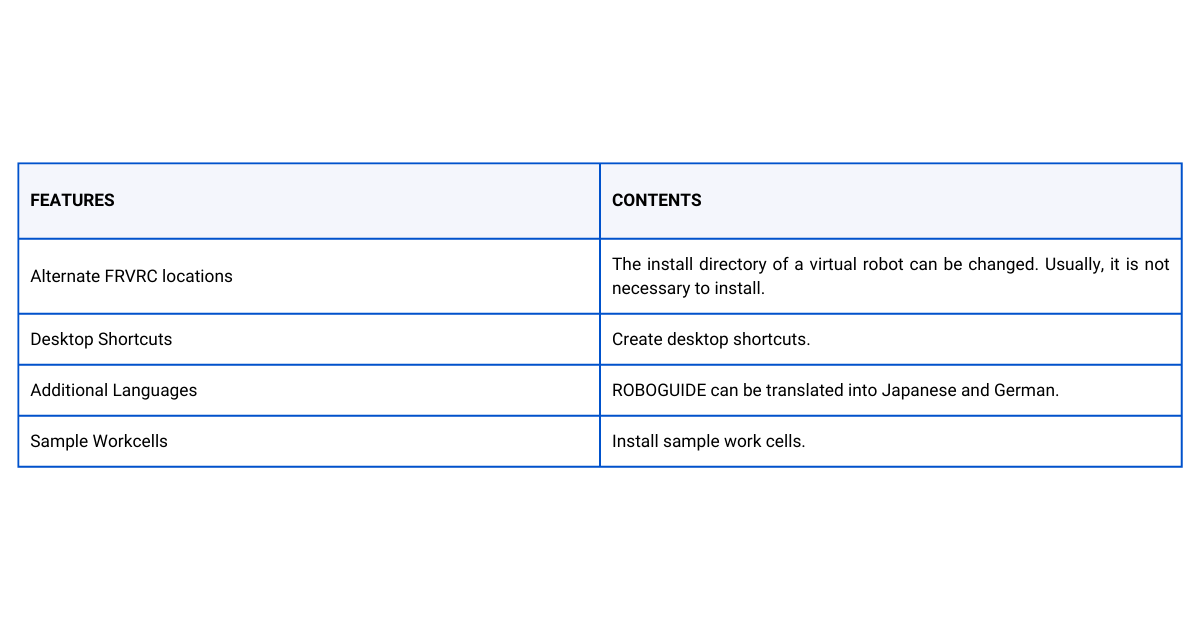
The following features can be selected as desired features as a part of this step.
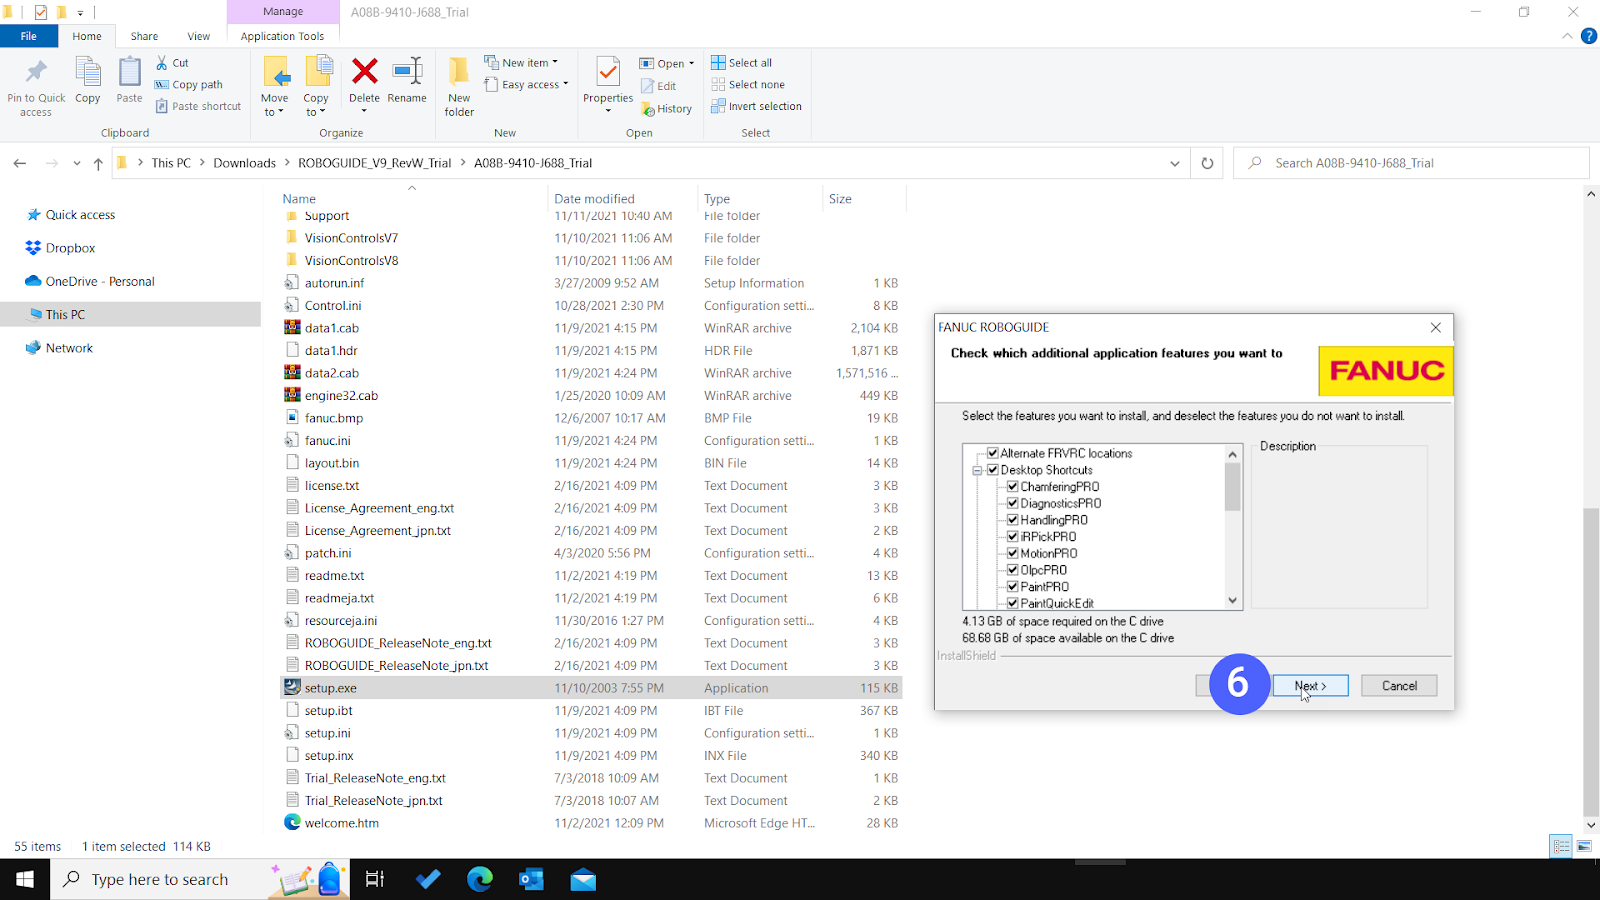
After choosing all necessary options, click 'Select all', then 'Next'.

Choose your desired destination location for the software and click 'Next'.

The software will now begin the installation process. This can take between 20-40 minutes.
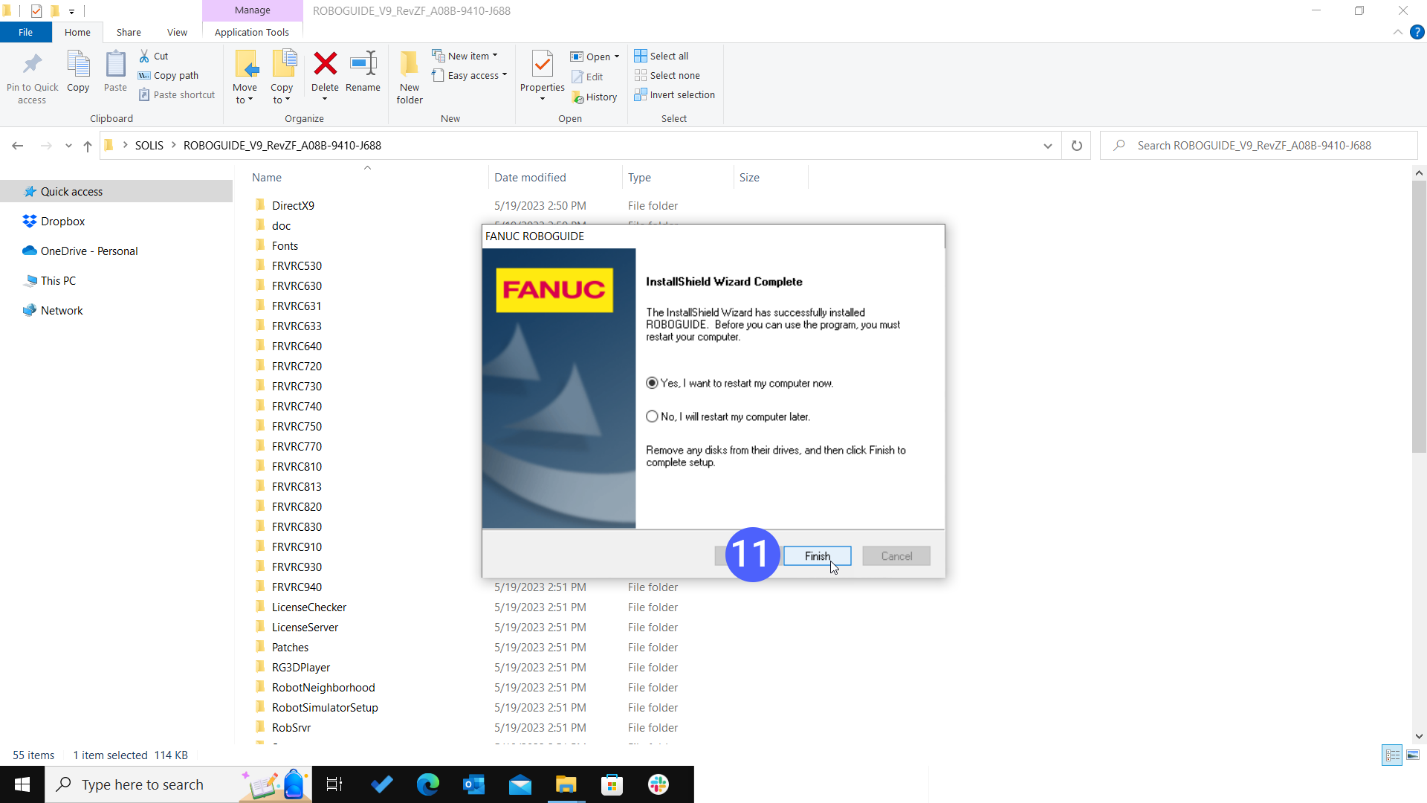
When the 'InstallShield Wizard Complete' window appears, your installation is completed. Click 'Finish' to confirm and check the ReadMe file.

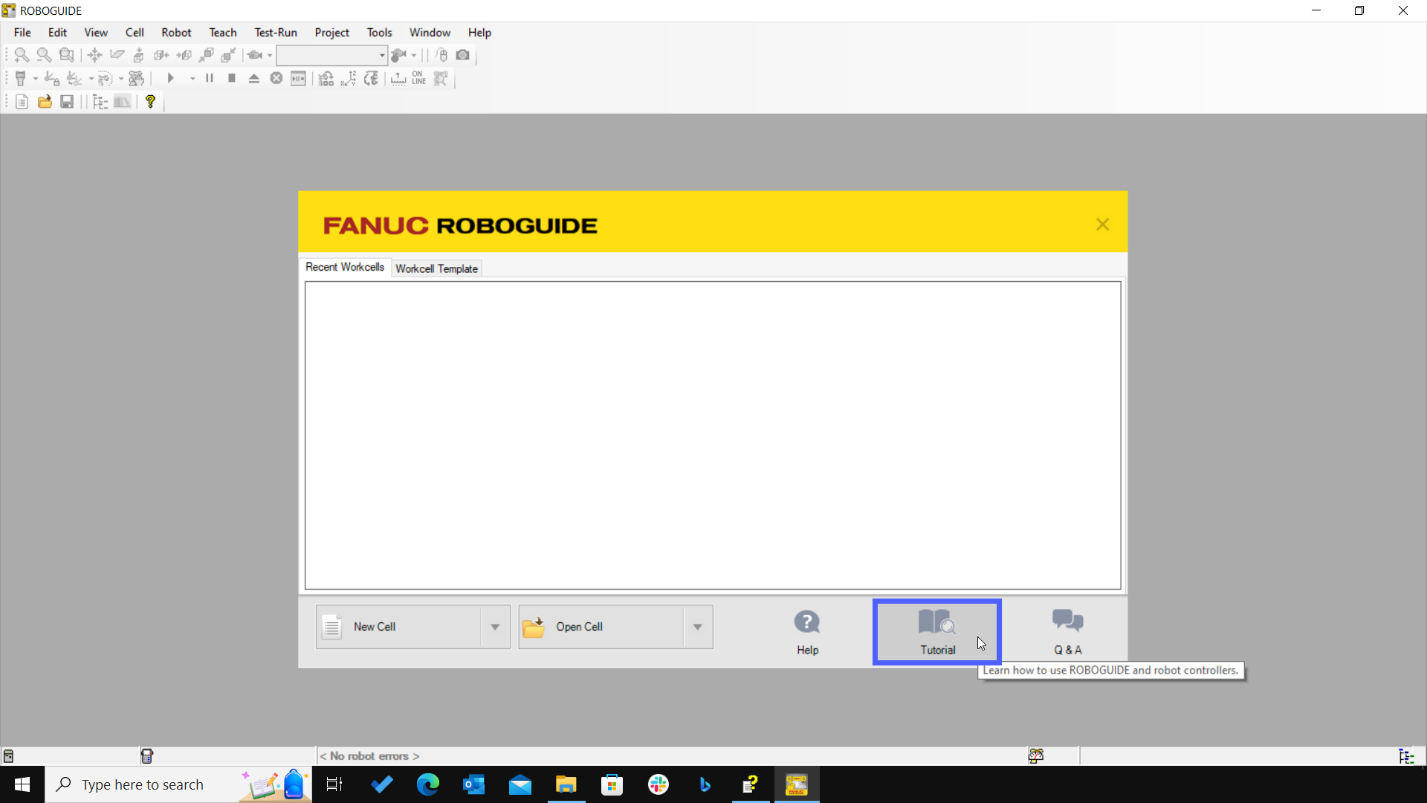
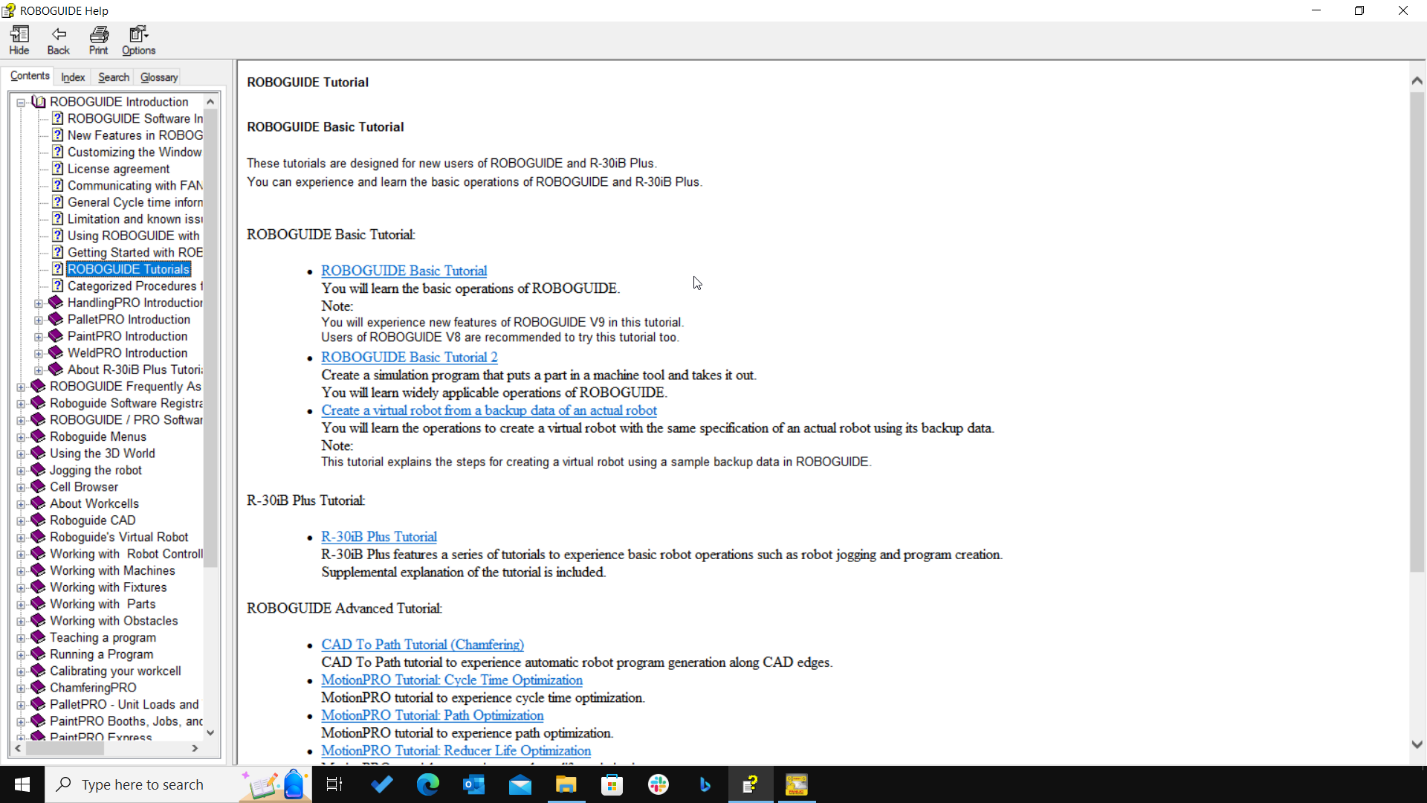
Using the Tutorial
FANUC provides an in-built tutorial in the ROBOGUIDE software. Open ROBOGUIDE, and click 'Tutorial' on the start screen to access it. This guide is an invaluable resource to understand the software's features and functions.
The ROBOGUIDE User Interface
The user-friendly interface of ROBOGUIDE provides several methods to perform tasks:
Menu: This hierarchical application menu gives you access to all software features.
Toolbar: Use these shortcut icons for quick access to commonly used menu options.
Cell Browser: This displays all elements of a workcell in a tree structure, providing a snapshot of your setup.
Status Bar: Shows the current robot position and operation icons, useful for quick modifications and adjustments.

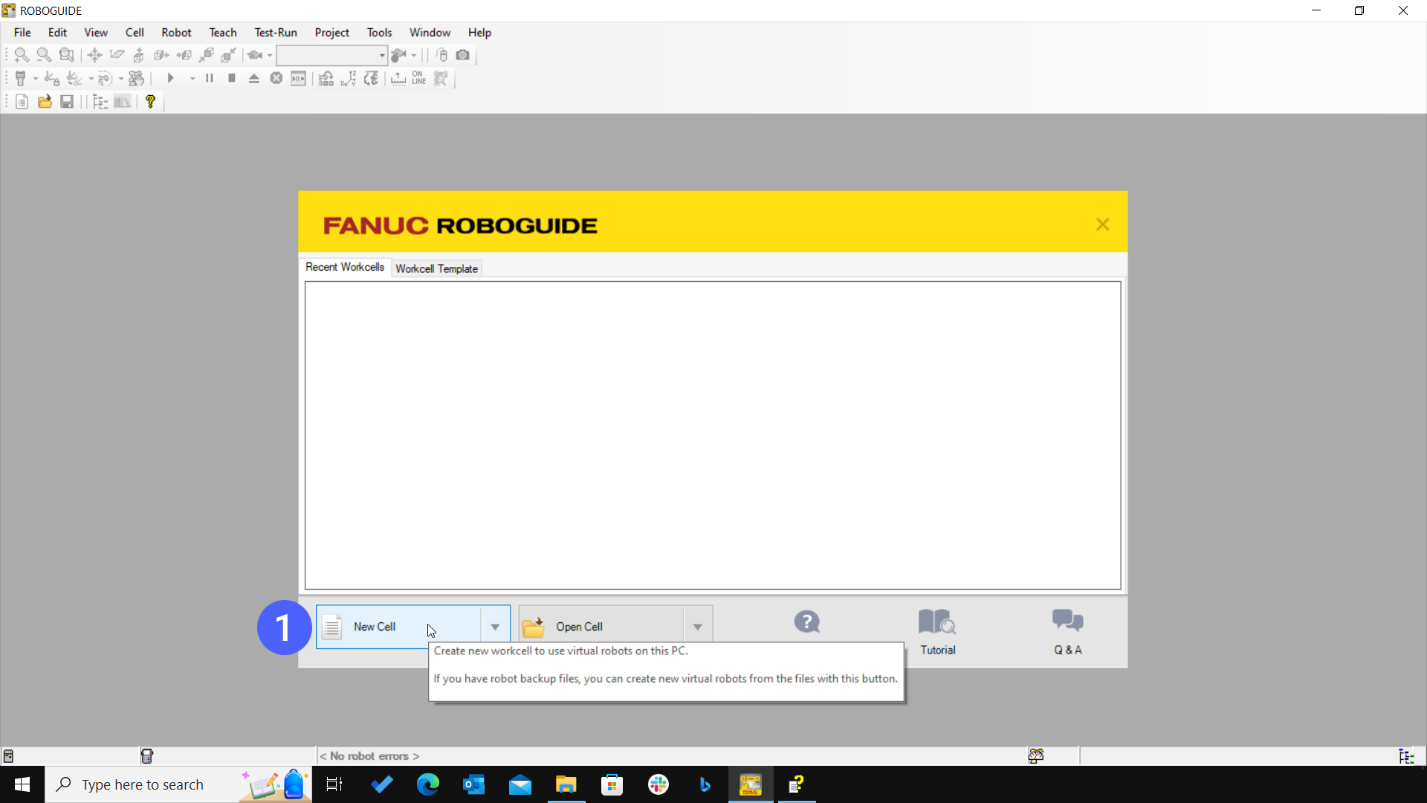
Creating a New Work Cell
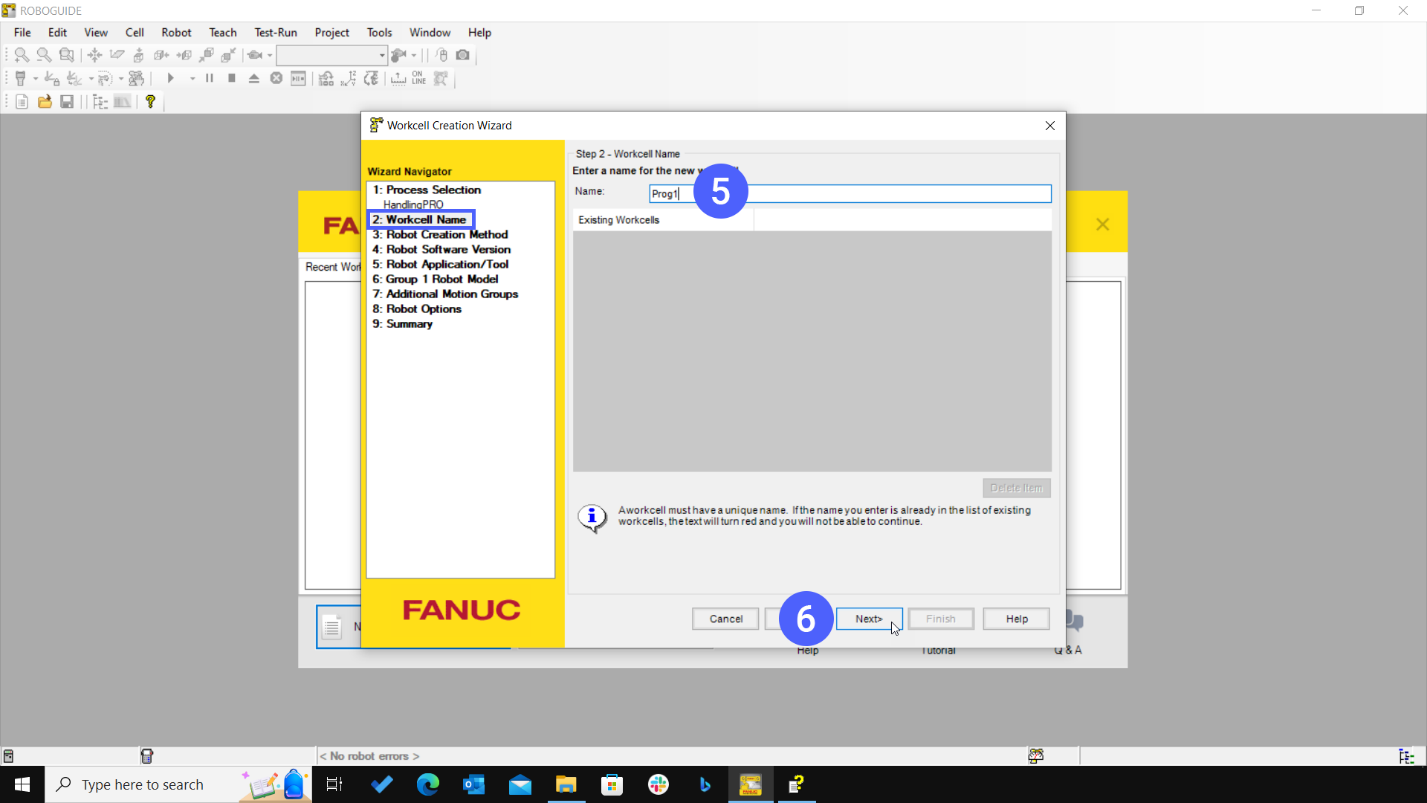
Use the ROBOGUIDE Workcell Creation Wizard to create a new workcell. Follow these steps:
Select the 'HandlingPRO' process for your workcell and click 'Next'.

Enter "Prog1" as the workcell name and click 'Next'.
To create a virtual robot, select "Create a new robot with the default HandlingPRO configuration." and click Next.
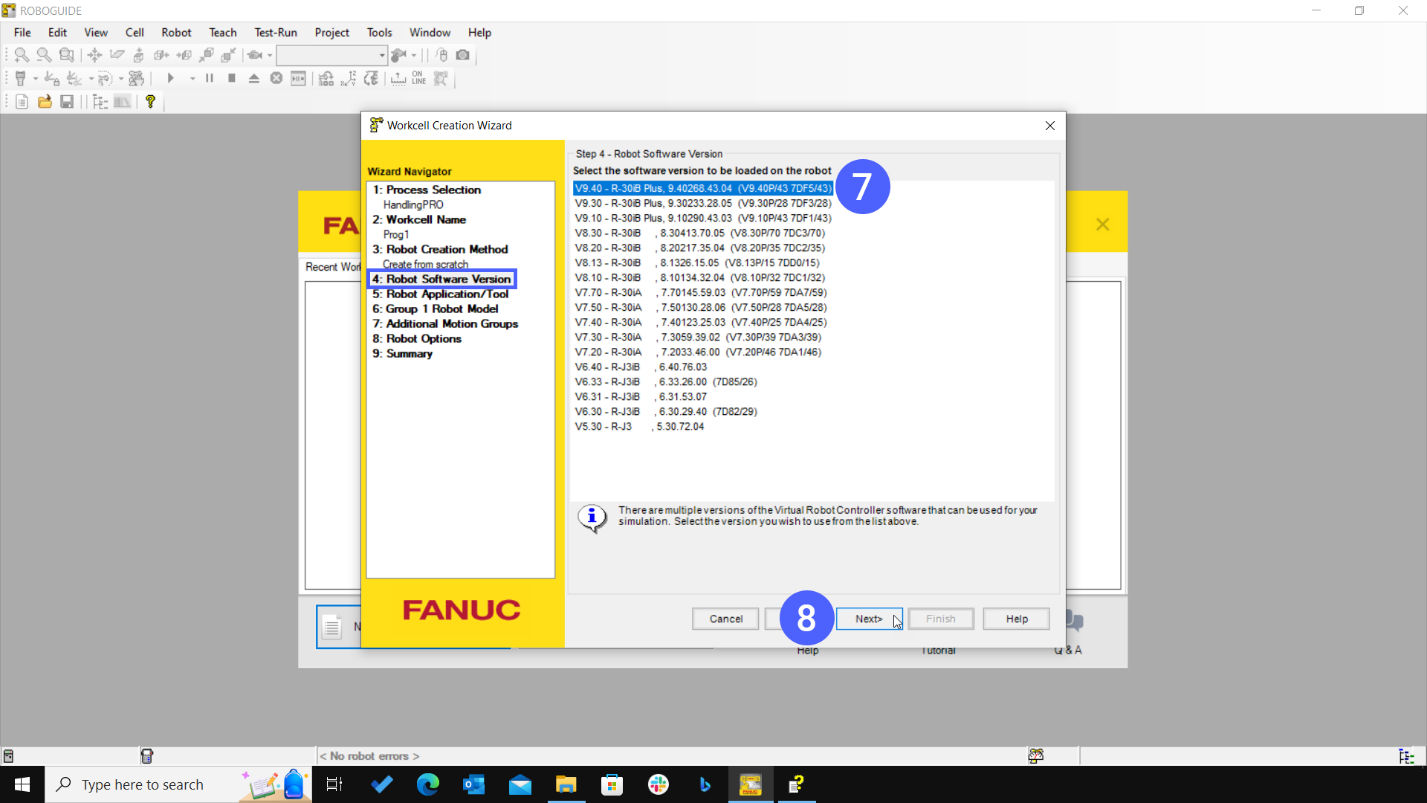
Then choose the V9.40 software version from the list and click the Next button.
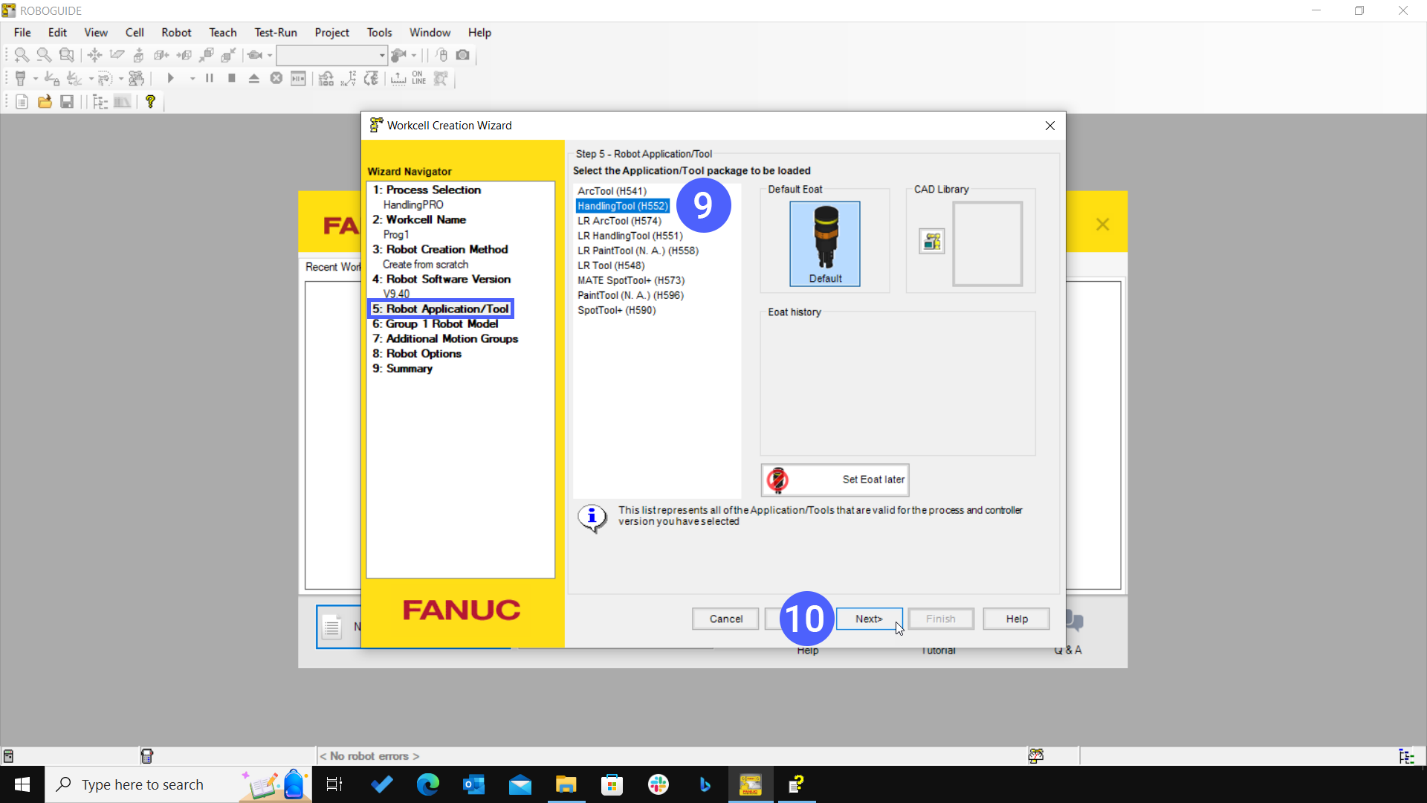
To select the desired application/tool from the list, select "HandlingTool(H552)" and the Default Eoat, then click the "Next" button.
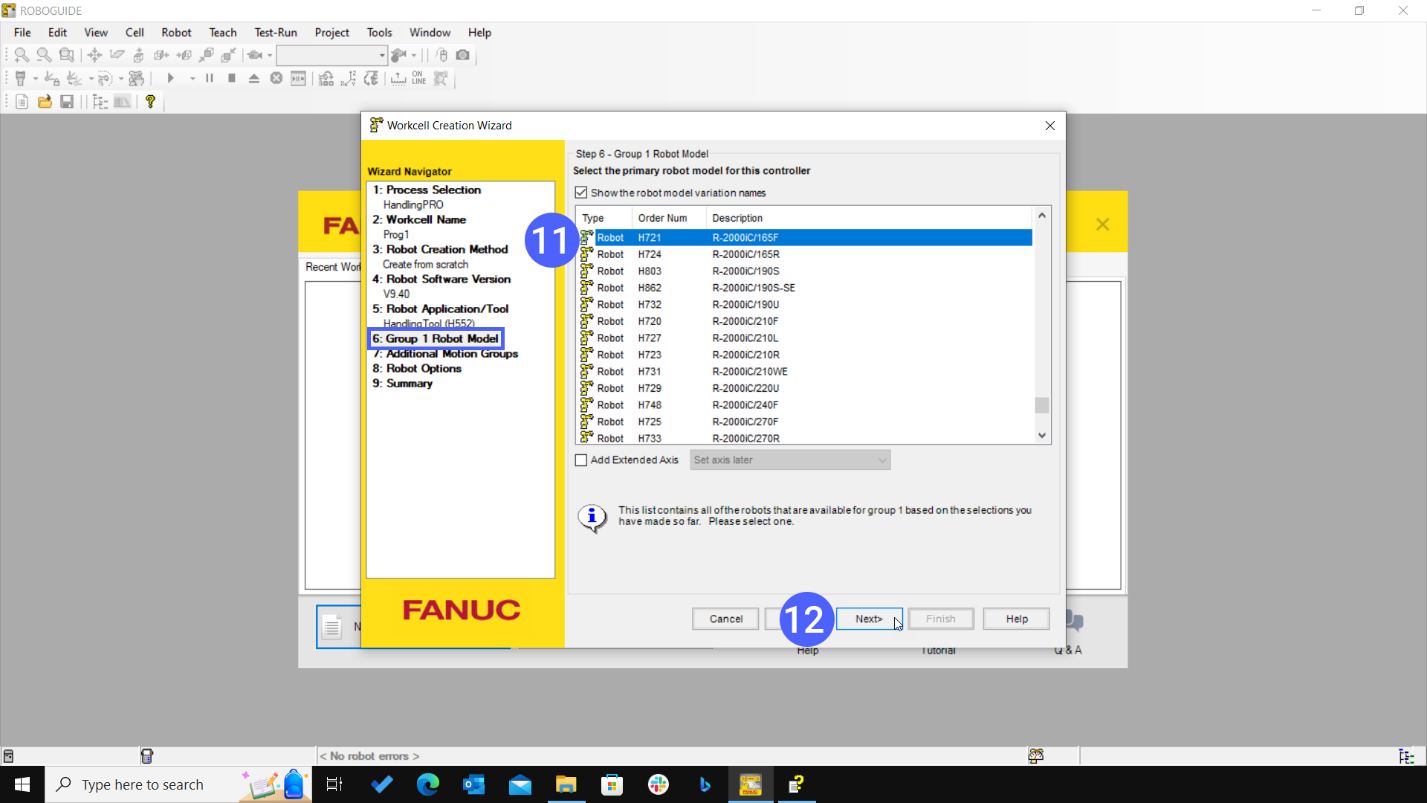
To select the robot model R-2000iC/165F, locate it on the list and then click the Next button
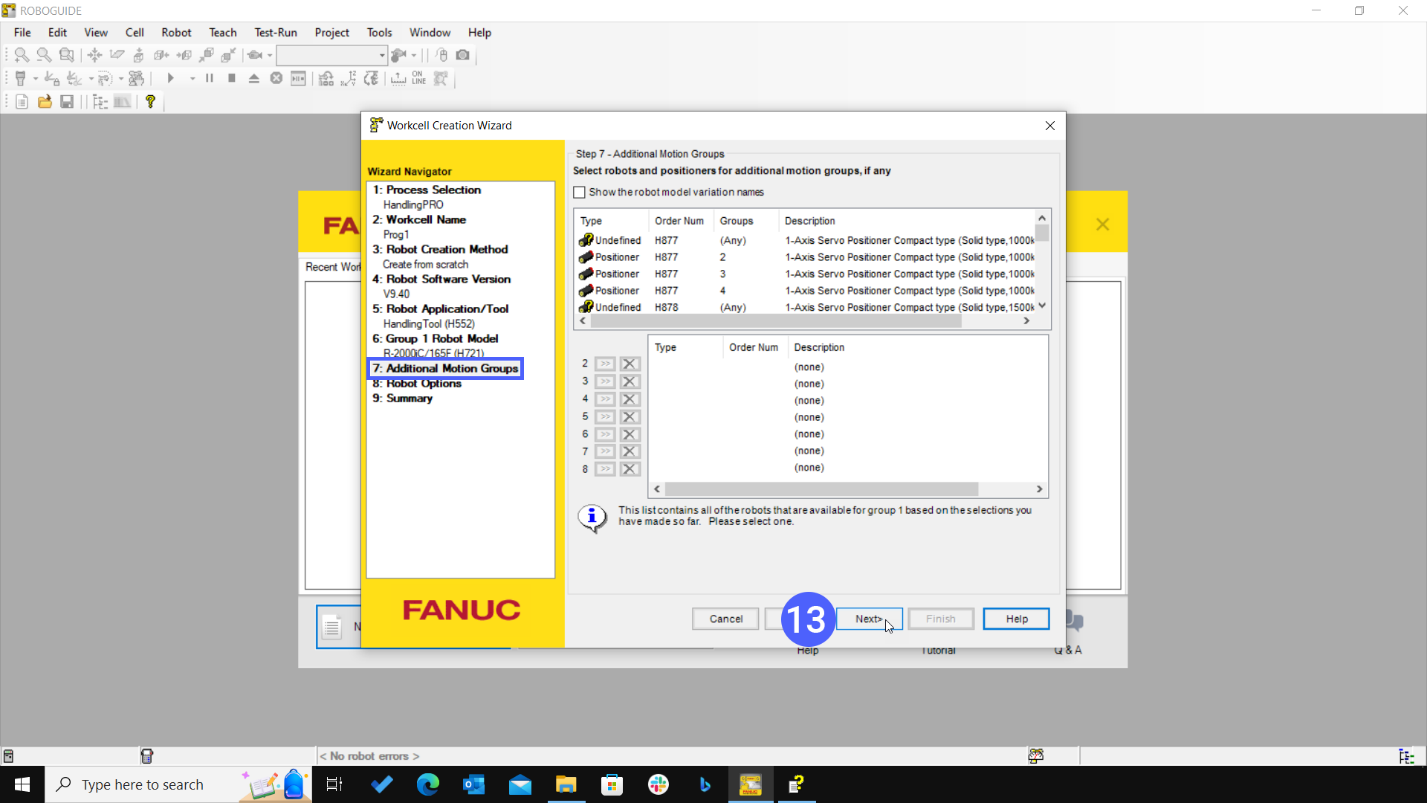
Set the Additional Motion Groups by selecting nothing here, and then click the Next button.
Select the robot options you need, and if you don't need any, simply click the Next button.

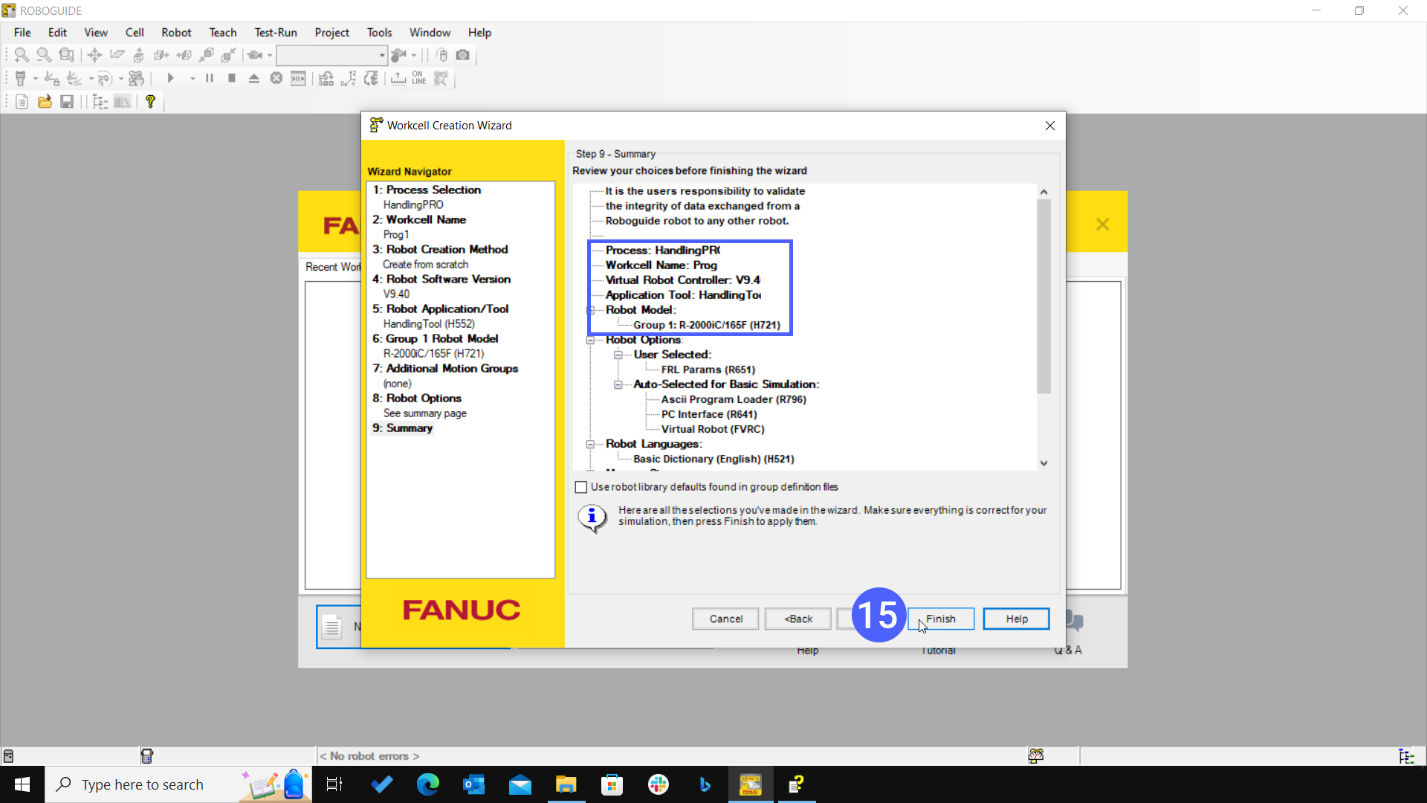
On the Summary screen, you will find the following contents:
- Process:HandlingPRO
- Workcell Name:SimProg1
- Virtual Robot Controller:"V9.40"
- Application Tool:HandlingTool
- Robot Model:R-2000iC/165F (H721)
Review your settings in the Summary screen and click 'Finish'.
We are now starting the process of creating a virtual robot.
In the flange type selection, click the "1" button and click Enter.

Almost all of the features of the virtual robot are ready to be used within ROBOGUIDE as shown on the picture.
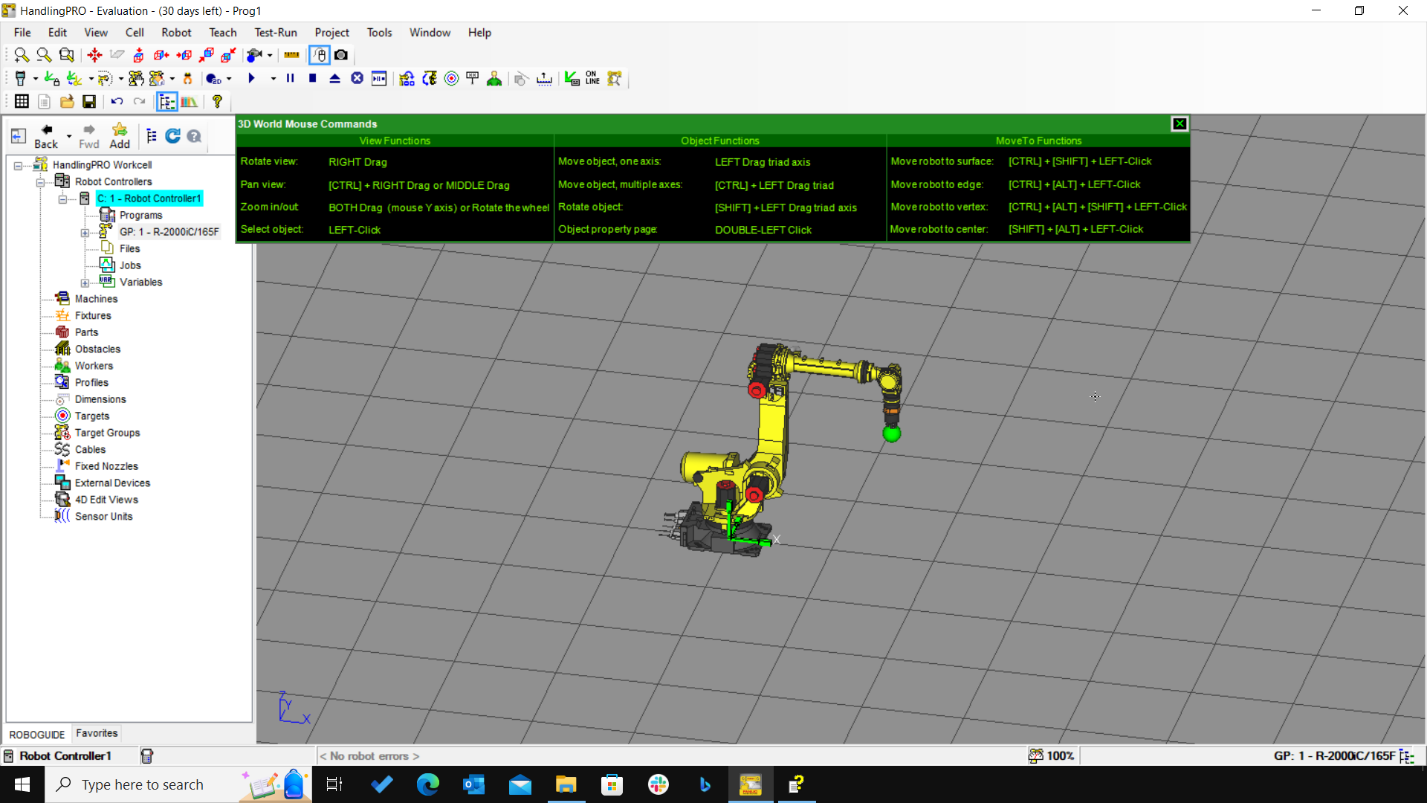
Once you have completed the above steps, click the Save Cell icon on the toolbar to save the data at this point in time.
Mastering View Controls in ROBOGUIDE:
Effective utilization of the ROBOGUIDE graphics screen is a critical part of creating and managing a successful virtual workcell. With the right controls, you can seamlessly navigate through your digital workspace, optimize robot programming, and troubleshoot any issues with precision. In this guide, we dive into various techniques for zooming, panning, and rotating your view within the 3D world of ROBOGUIDE.
I. Taking Command of Zoom Functions
Understanding how to adjust your field of vision is crucial to focusing on key components within your workcell or getting an overview of the entire setup.
A. Leveraging Mouse Controls
Zoom In: Simultaneously press and hold both the left and right mouse buttons and move the mouse upwards.
Zoom Out: Keep both mouse buttons pressed but move the mouse downwards.
B. Utilizing the Mouse Wheel
If your mouse has a wheel, scrolling it can zoom in or out, offering an intuitive way to adjust your view.
C. Harnessing Toolbar Functions
The toolbar offers sophisticated zoom controls:
Zoom Window: Click the 'Zoom Window' icon. Draw a box around your desired area by left clicking and dragging. Releasing the button zooms into the chosen window.
Zoom Buttons: The '+' and '-' buttons on the toolbar allow you to zoom in and out respectively.
D. Employing Menu Navigation
Use the menu system to access more traditional controls. Go to 'View' -> '3D World’ and select 'Zoom-In' or 'Zoom-Out'.

II. Mastering Panning Operations
To explore different areas of your workcell without changing your magnification, panning is key:
With the 'CTRL' key and the right mouse button pressed, drag your mouse to pan the view. Letting go of the right mouse button ends the panning operation.
Alternatively, for mice with a center button:
Press and hold the center button, drag to pan, and release to stop.

III. Refining Rotation Actions
Rotation is essential for analyzing your workcell from various perspectives. To execute a rotation:
Choose the object you want to serve as your rotation center in the 3D view.
With the right mouse button pressed, drag the mouse to begin rotation, releasing the button when satisfied with the view.

Conclusion
Successfully installing and running FANUC ROBOGUIDE can open up significant efficiencies in designing and managing your robotic systems.
Ensure to follow these procedures carefully for the best outcomes. Feel free to revisit this tutorial as needed and make full use of the ROBOGUIDE's capabilities to maximize your factory automation processes.
